

I know, I know, you are thinking that 'chips' and kale should never be used in the same sentence, unless of course you happen to be saying, "I am going to have potato chips with my kale." Well, it's not true actually! Now, I know that the word "chips" evoke only those salty, crispy, crunchy things that have nothing to do with green, leafy winter greens. I know! But kale chips seem to be everywhere lately. A new fangled snack packed in my grocery, a recipe in Bon Appetit...so it was time to try them myself. And why not, after all it is big, leafy-green season here in AZ and each week my farmshare drops off more that we can saute, steam, simmer, and boil of those big bunches of greens.
I wondered just how good would these be? Turns out, kale has a structure that holds up to drying and makes them super crisp. These are wa-aay better than you would ever think, even I was a skeptic, and I am hooked.
They take on a roasty-toasty nutty flavor which is surprising. And they truly are shatteringly crunchy.
First, here is how to use them once made:
- Eat as chips.
- Crumble into salads or over plain pasta that is tossed with olive oil or butter and lemon juice.
- Crumble into a creamy dip to add flavor dimension and nuttiness.
- Crumble and put into a jar and use it like dried parsley in your dishes.
- Throw a handful into soups, or stir into your favorite spaghetti sauce.
To make them:
Use as many bunches of kale as you like. I used two varieties that my farmshare grows; a curly kind, and a kind whose leaves have an oak-leafish shape. I am not sure of the names....but use the kale at your grocery.
- Wash your greens, and do not spin dry--your seasonings will stick to the moisture.
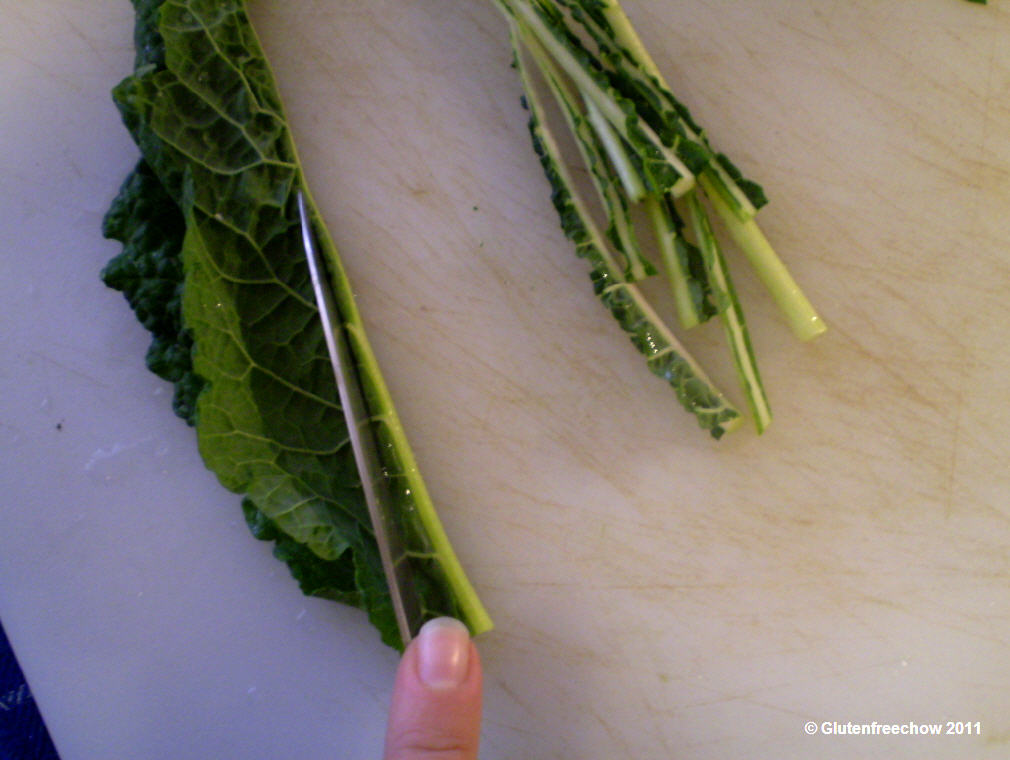
- Remove stems (see below).
- Tear into chip-sized pieces. They do not loose much size when they dry.
- Sprinkle them generously with seasoning. I used salt and pepper, and a sun-dried tomato seasoning I had hanging around. Garlic would be nice, or a parmesean, or lemon pepper...use what you like and have.
- Lay in loose multiple layers on your dehydtator trays.
- Dry for about 8-hours or until crisp. Rotate the trays often. (If using an oven, layer the same way on cookie sheets and place it a 250-degrees oven until crisp, tossing gently to ensure even drying.)
Stems: If they have thick stems (and they will) trim them off. Fold the leaf in half and just make one cut to trim the stem.


No comments:
Post a Comment